Gábor Herédi-Szabó Head of Single Board Computing category at Distrelec
Captivated by the wealth of applications and opportunities that arise with single board computing (SBC) technology, Gabor is passionate about connecting people of all skill-sets with the SBC products that will propel and expand their unique projects.
Getting started with Arduino: a beginner’s guide
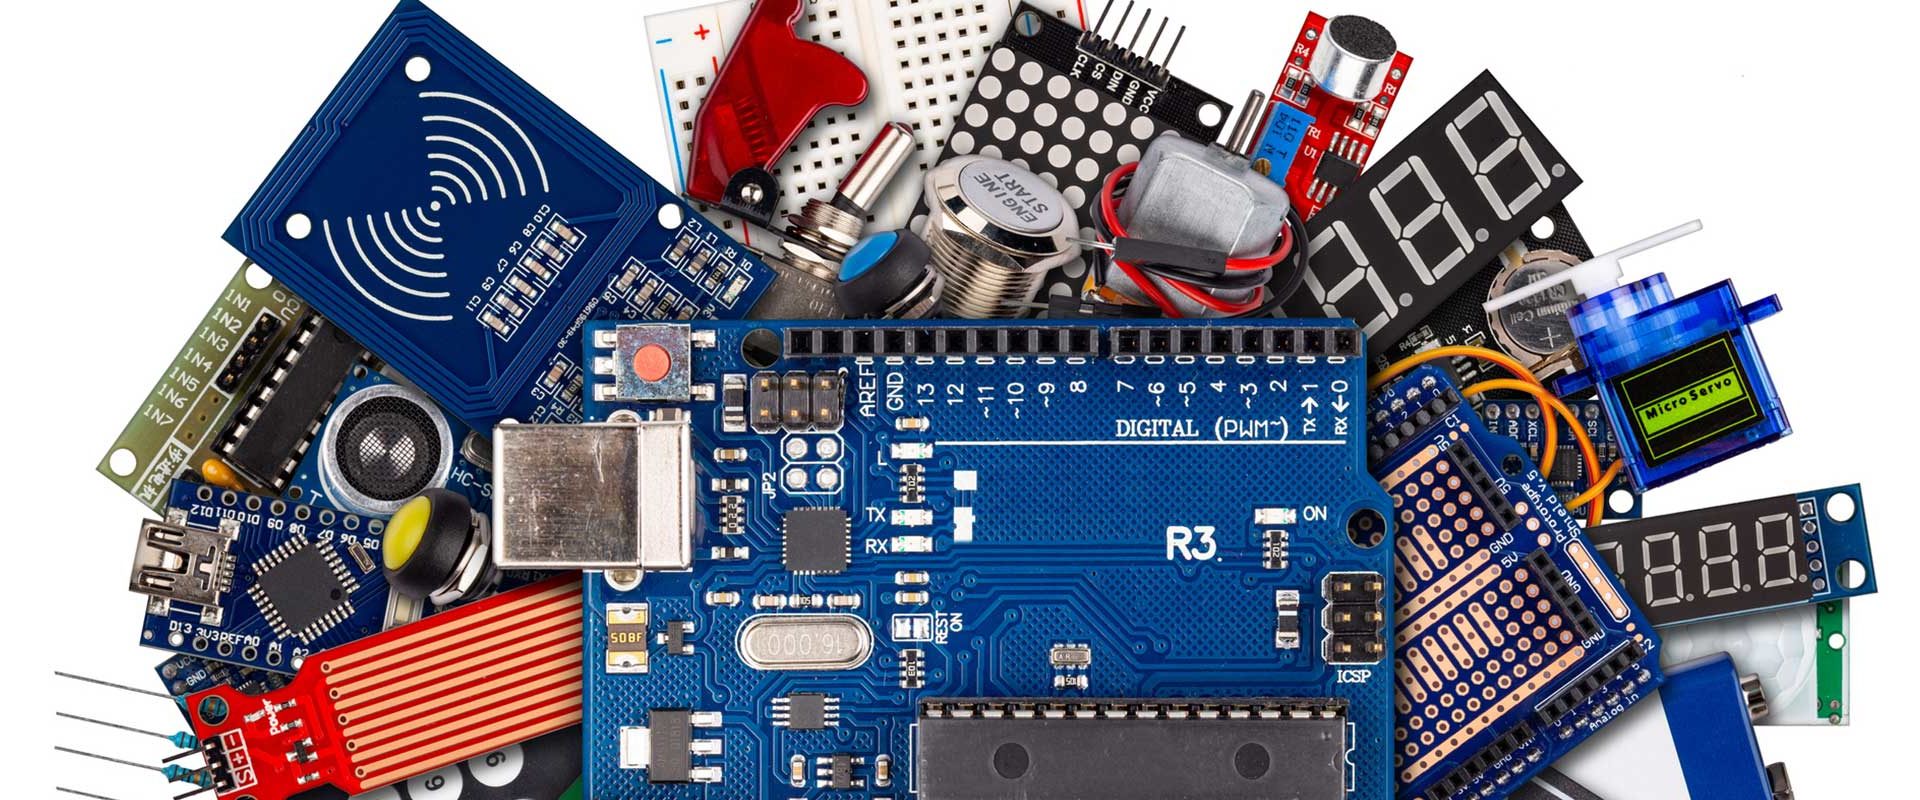
In prototyping circles, the Arduino platform and its boards are a firmly established constant that has become integral for the design and development of new solutions in many industries. As a newcomer to prototyping, it’s therefore vital to understand what Arduino is and does. Even prototyping experts might enjoy a reminder of the limitless potential the brand provides.
At its core, Arduino is an open-source electronics platform and programmable circuit board, or single board computer. With the ability to turn an input (e.g. a button press, sensed light source or SMS message) into an output (e.g. sending an email, starting a motor or blinking an LED) via a microcontroller, its compact size as well as accessible interface make it a perfect match for cheap and efficient prototyping applications.
Its simplicity and flexibility have made it a popular choice for beginners and professionals alike. What sets it apart from other single board computers is not only its accessible and clear programming environment but also the open source nature of its hardware and software. This enables members of the Arduino community to get as creative as they like and come up with new and exciting applications incorporating Arduino boards: the cradle of innovation. Due to the ability to use Arduino board across different operating systems as well as their relatively low price point, Arduino users are not constrained by common restrictions found in other single board computers and platforms.
It is incredibly simple to get started with Arduino, however, due to the sheer volume of products available for purchase, complete beginners can benefit from some guidance on exactly where to start and what first steps to take. In this guide, we’ll tell you how to get started with your very first Arduino board, from which products to buy to what to do with them once you’ve got them.
Your first Arduino board

When you’re first getting your hands on an Arduino, it is recommended to start with one of the more basic boards. The Arduino Uno board is perfect for beginners – it is easy to use, comes with a replaceable microcontroller chip and is available for a low price while providing all the basic functionality required for simple projects. Other boards can offer more memory or pins, but if you’re only using your board to get comfortable with Arduino and aren’t sure if you will use it further, there is no need to spend more money on a board with additional functionality you may not use.
The Arduino Uno SMD R3 is a microcontroller board based on the ATmega328. It has 14 digital input/output pins (of which 6 can be used as PWM outputs), 6 analog inputs, a 16 MHz crystal oscillator, a USB connection, a power jack, an ICSP header and a reset button. It contains everything needed to support the microcontroller – simply connect it to a computer with a USB cable or power it with an AC-to-DC adapter or battery to get started.
The Uno differs from all preceding boards in that it does not use the FTDI USB-to-serial driver chip.
Additional features included with the latest R3 version are:
- ATmega16U2 instead of 8U2 as USB-to-Serial converter
- 1.0 pinout:
- Added SDA and SCL pins for TWI communication placed near to the AREF pin
- Two other new pins placed near the RESET pin: the IOREF that allows the shield to adapt to the voltage provided from the board, and a non-connected pin that is reserved for future purposes
- Stronger RESET circuit
Product specifications
| Microcontroller | ATmega328P |
| Operating voltage | 5V |
| Input voltage (recommended) | 7-12V |
| Input voltage (limit) | 6-20V |
| Digital I/O pins | 14 (of which 6 provide PWM output) |
| PWM digital I/O pins | 6 |
| Analog input pins | 6 |
| DC current per I/O pin | 20 mA |
| DC current for 3.3V pin | 50 mA |
| Flash memory | 32 KB (ATmega328P), of which 0.5 KB used by bootloader |
| SRAM | 2 KB (ATmega328P) |
| EEPROM | 1 KB (ATmega328P) |
| Clock speed | 16 MHz |
| LED_BUILTIN | 13 |
| Length | 68.6 mm |
| Width | 53.4 mm |
| Weight | 25 g |
Basic components
While the Arduino Uno board can be used as the brain of prototyping applications, additional electrical components are required to actually get a project up and running. We’ve compiled a brief overview over some of the basics you might come across during your first project:
- BreadboardA breadboard is an essential when it comes to prototyping circuits. A block of plastic with holes for wires, it provides a temporary means of connecting components. A breadboard is made up of rows and columns for easy connections.
Browse breadboards
- USB B cableUsed as a way of powering your Arduino board, the USB B cable connects to your computer’s USB A port.
Browse USB B cables
- Jumper wiresUse jumper wires on your breadboard to create temporary connections between different components.
Browse jumper wires
- ResistorsLimiting the flow of electricity, a resistor is nearly always required to protect components from being overloaded and preventing short circuits. They’re a cheap staple of electronics projects.
Browse resistors
- PhotoresistorsWith a photoresistor, your Arduino can measure changes in light. Its resistance decreases with increasing light intensity.
Browse photoresistors
- CapacitorsWith a capacitor, it is possible to store an electrical charge, fulfilling the function of a small rechargeable battery – though they work very differently.
Browse capacitors
- TransistorsA transistor is used to switch or amplify a signal. As a semiconductor device, it functions like a current controlled switch. You can also consider a MOSFET, a type of transistor.
Browse transistors
- DiodesAnother semiconductor device, diodes enable you to direct the flow of current in only one direction.
Browse diodes
- RelaysA current controlled switch similar to a transistor, a relay is a mechanical component consisting of a coil that is pulled back by a spring.
Browse relays
- LEDsA Light Emitting Diode (LED) is a diode that emits energy as light. It is necessary to use resistors with an LED.
Browse LEDs
Using Arduino software
After purchasing an Arduino Uno, you can already begin to familiarise yourself with its software with only one additional component. All you will need is a USB B cable.
Installation
After downloading the integrated development environment (IDE) for Arduino from the Arduino website (available for Windows, Mac and Linux), you will need to install it on your computer. You can find installation instructions depending on your operating system here.
Alternatively, you can also use Arduino’s convenient Web Editor – you can find detailed instructions on how to do this here.
Connection
Next, connect your board to your computer via your USB B cable. This ensures your Arduino is powered up and can be programmed as it draws power from this USB connection.
Configuration
To start using your board, select the “Arduino Uno” entry in the Tools > Board menu. Next, select the serial port under Tools > Port. To find out which port your Arduino is connected to, you can disconnect your board and re-open the menu. The entry that disappears should be your Arduino Uno (likely to be COM3 or higher). Then, reconnect your Arduino and select the serial port that should now have popped up again. You have now configured your Arduino board!
Test project
As a first test project, you can follow these brief instructions explaining how to get your Arduino’s built-in LED to blink using an example project your board comes with.
1. In the IDE, click File > Examples > 01.Basics > Blink. This will load the example code for your project, so you won’t need to actually do any coding yourself for now.

2. Next, click the check mark button in the upper left of the IDE window. This button verifies your code, i.e. checks it for errors and subsequently compiles it so it’s ready to upload to your Arduino board.

3. If the compilation stage was successful (as it should be when using the example code), your IDE will show a message in the output window at the bottom telling you your code has finished compiling.

4. The final step after compilation is uploading your code to your Arduino board. To do this, simply click the arrow button next to the check mark in the upper left of the IDE window.

5. Your Arduino’s built-in LED should now be blinking. You have completed your first test project and are ready to take on more complex tasks using your Arduino board.
The Arduino Starter Kit
The ideal starting point for your very first Arduino project is the Arduino Starter Kit. Designed specifically with beginners in mind, the kit walks you through the basics of using Arduino in a hands-on way. Conceived around the Arduino UNO board, you’ll learn through building several creative projects, a book of which is included in the kit.
On top of that, you will receive a selection of the most common and useful electronic components, saving you the effort of researching and picking out all the essentials. Starting with the basics of electronics and eventually moving on to more complex projects, the kit will help you control the physical world with sensors and actuators. Once you’ve completed the projects included in the kit, you’ll have a palette of software, circuits and – most importantly – knowledge that you can use to move on to bigger things.
Kit contents

- 1 Arduino projects book (170 pages)
- 1 Arduino UNO board rev.3
- 1 USB cable
- 1 breadboard
- 1 easy-to-assemble wooden base
- 1 9v battery snap
- 70 solid core jumper wires
- 2 stranded jumper wires
- 6 photoresistor
- 3 potentiometer 10kilohm
- 10 pushbuttons
- 1 temperature sensor
- 1 tilt sensor
- 1 LCD alphanumeric (16×2 characters)
- 1 LED (bright white)
- 1 LED (RGB)
- 8 LEDs (red)
- 8 LEDs (green)
- 8 LEDs (yellow)
- 3 LEDs (blue)
- 1 small DC motor 6/9V
- 1 small servo motor
- 1 piezo capsule
- 1 H-bridge motor driver
- 2 optocouplers
- 5 transistor
- 2 MOSFET transistors
- 5 capacitors 100nF
- 3 capacitors 100uF
- 5 100pF capacitor
- 5 diodes
- 3 transparent gels (red, green, blue)
- 1 male pins strip (40×1)
- 20 resistors 220 ohm
- 5 resistors 560 ohm
- 5 resistors 1 kilohm
- 5 resistors 4.7 kilohm
- 10 resistors 10 kilohm
- 5 resistors 1 megohm
- 5 resistors 10 megohm
Recommended products
Arduino Starter Kit
This kit walks you through the basics of using the Arduino in a hands-on way. You’ll learn through building several creative projects. The kit includes a selection of the most common and useful electronic components with a book of 15 projects.

Arduino Uno Rev3 SMD
The Arduino Uno SMD R3 is a microcontroller board based on the ATmega328. It has 14 digital input/output pins (of which 6 can be used as PWM outputs), 6 analog inputs, a 16 MHz crystal oscillator, a USB connection, a power jack, an ICSP header and a reset button.


