


Electronics are crucial to our daily lives, yet the field of electronics can be confusing and intimidating. Finding the right tools and resources to build your own home electronics lab can be daunting. From designing and assembling circuits to testing and troubleshooting, there are many steps that need to be taken to create a functional lab. Whether you are an engineering student or just an electronics enthusiast who wants to build your own lab, this guide will help you get started.
How To Make an Electronic Lab?
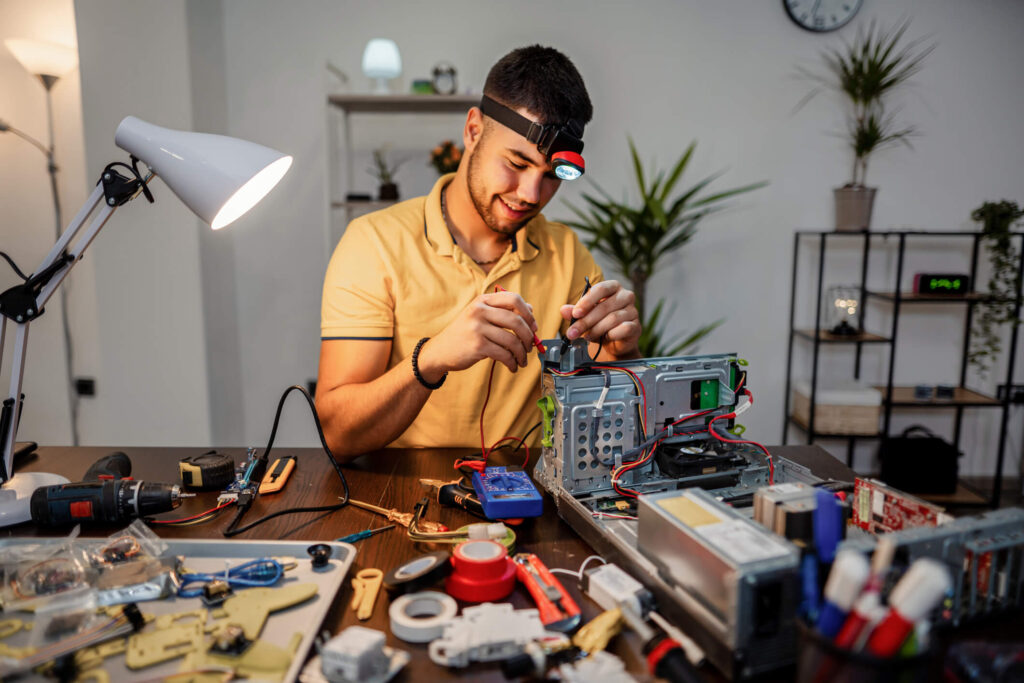
A home electronics lab is a place where you can learn electronics and develop practical skills or work on any projects you want in your own space. To build such space, it is crucial to choose the right space (ideally a well-ventilated, spacious room) and gather all the necessary equipment and tools.
1. Set Up Your Workbench
Before picking what equipment to buy, it is important to have a work space to assemble and test your electronics. Ideally, it will be a wooden workbench, desk or table with a large surface area that is flat and stable. This will allow you to work on multiple projects at the same time and fit all the necessary components and tools you need.
Make sure there are plenty of power outlets in the location you have chosen. To protect your equipment from power surges and outages, use an Uninterruptible Power Supply (UPS) or a surge protector. Make sure there is adequate lighting in your workspace as well; desk lamps with adjustable magnifiers can be useful for close work.
2. Gather Essential Tools and Equipment
There are many essential tools and components that are necessary to build your home electronics lab; some are more advanced, and some are more basic.
Basic Tools
Basic tools can help you start off and are used to start the process of building your electronics projects. These include:
- Screwdrivers – a set of precision screwdrivers with various head types (Phillips, Hex Nut, Torx) for working with different screws.
- Cutting pliers – needle-nose pliers, wire cutters, and tweezers are indispensable for handling small components.
- Wire strippers and cutters – these tools are necessary for preparing wires and cables, especially when building or repairing circuits.
Soldering Tools
After collecting the basic equipment, it is time to find the right soldering tools as soldering is a fundamental skill in electronics. Soldering enables you to create strong, conductive joints between components. Whether you’re assembling circuits, repairing devices, or building custom electronics, the right soldering tools are essential for success.
Soldering Iron
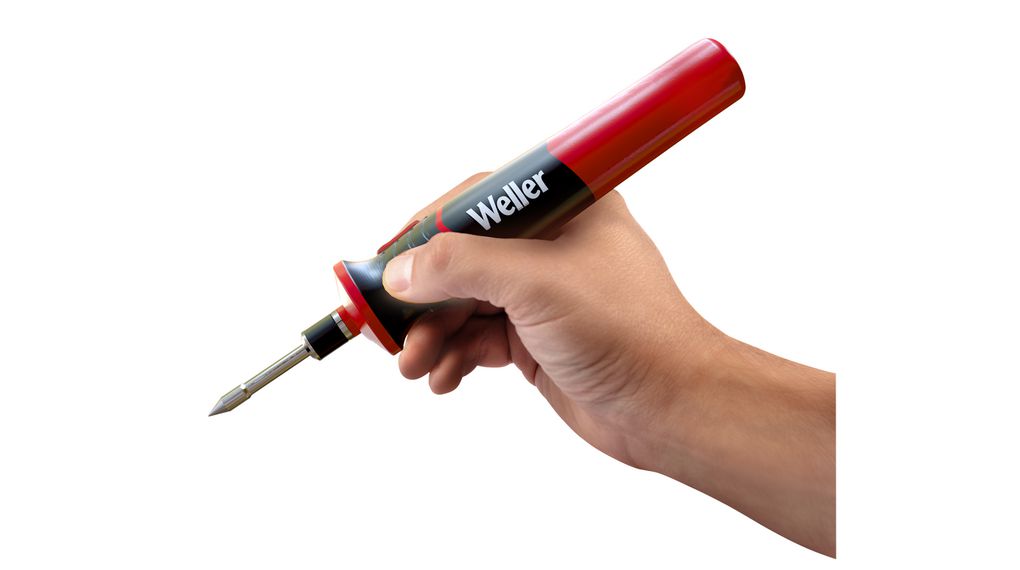
The most important tool in your soldering process is the soldering iron. The soldering iron is the centrepiece of your soldering toolkit. It heats the solder, allowing you to join electronic components to a PCB (Printed Circuit Board) or wires. When selecting a soldering iron, look for one with a fine tip for precision work. Browse our webshop to find cordless, gas-powered and low-voltage soldering irons to suit your needs, from brands like Weller, RND or RS PRO.
Soldering Station
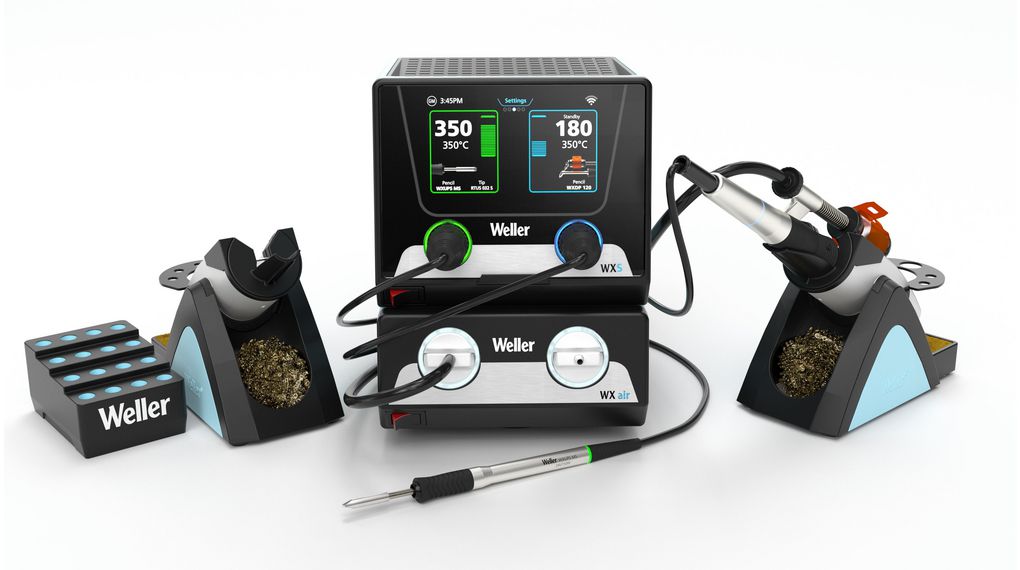
By having an integrated stand for secure storage, an adjustable temperature control for accurate soldering, and frequently a digital or analogue temperature display, a soldering station offers more functionality than a standalone soldering iron. By investing in a soldering station, you can keep the temperature just right for different kinds of work, yielding reliable outcomes every time. For added convenience and efficiency, a lot of stations have built-in storage for tips and accessories.
Weller is one of the brands that offer a wide variety of soldering tools, in our article about smart and sophisticated soldering solutions from Weller you can read more about the benefits of soldering stations and find their features.
Solder and Flux
In terms of solder, use lead-free solder with a rosin core for general electronics work; it automatically cleans and prepares surfaces for dependable, strong joints. Flux is a substance that ensures strong, conductive solder junctions by preventing oxidation and cleaning metal surfaces. Although flux is already included in rosin-core solder, adding more liquid flux can enhance solder flow and connection quality, particularly on challenging or oxidised surfaces. Flux is available in three different forms: liquid, paste, and gel, so you may select the one that’s best for the job at hand.

Desoldering Tools
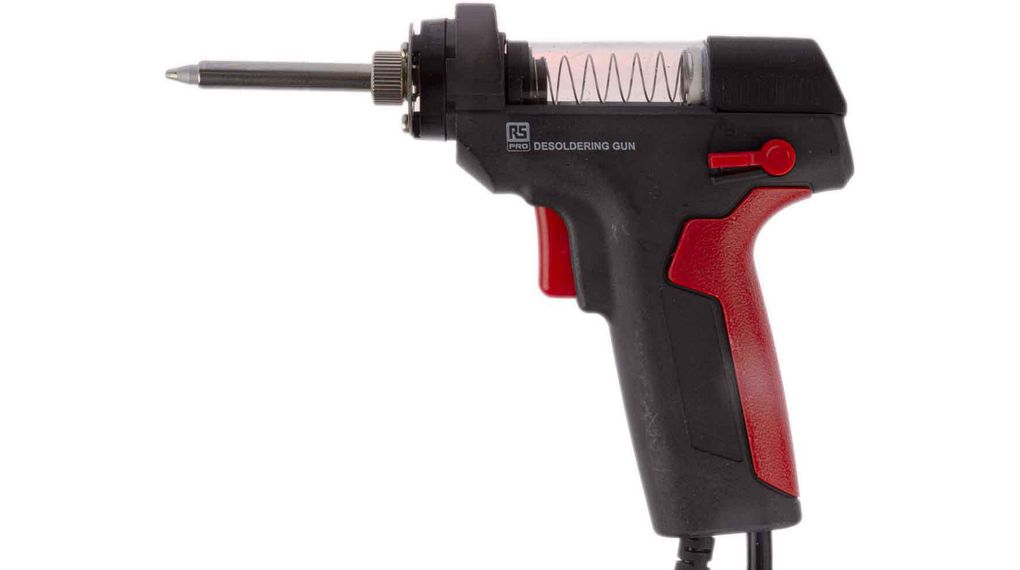
You might need to desolder, and tools for desoldering are necessary for repairs and alterations. For instance, a solder wick absorbs solder when heated, effectively cleaning joints, while a solder sucker (desoldering pump) swiftly removes molten solder by creating a vacuum. These are essential tools in every electronics lab because they help keep circuits tidy and operational. There are different desoldering tools available, including desoldering irons, desoldering braids, desoldering guns and pumps, and accessories.
Measurement and Testing Equipment
Building and debugging electronic circuits require precise measurement and testing to make sure your designs work as planned. Here is a closer look at the crucial instruments you will require:
Multimeter
A digital multimeter is a useful instrument that every electronics lab ought to have. It monitors important electrical characteristics like resistance, voltage, current, and continuity, which makes it essential for troubleshooting and confirming circuit performance. Additional functions like frequency detection, capacitance measurement, and diode testing may also be available with advanced multimeters. For convenience, especially when working with circuits that contain varied ranges of electrical values, use a multimeter with auto-ranging features. The most common types are handheld multimeters and benchtop multimeters, depending on your preference.

Oscilloscope
With the help of an oscilloscope, you may see electrical impulses in real time and gain an understanding of how your circuits operate. It shows waveforms on a screen so you can see how signal voltages change over time, spot distortions or noise, and fix timing problems in intricate circuits. An oscilloscope is an important tool for working with analogue signals, digital communications, and other high-speed circuitry where signal integrity and exact timing are crucial as your projects get more complex.

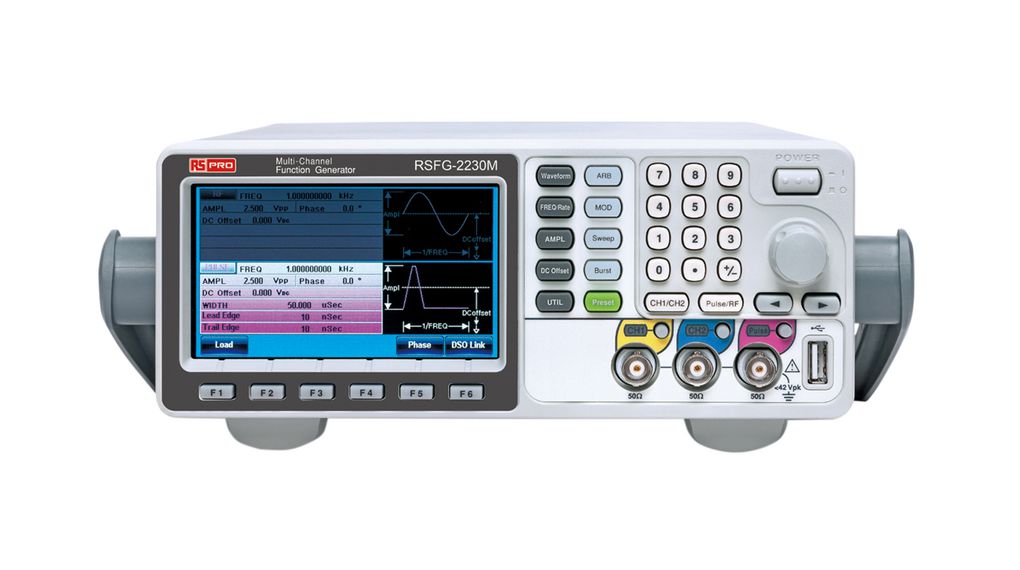
Function Generator
Circuit testing and debugging need the production of various electrical waveforms, such as sine, square, and triangle waves, which can be generated using a function generator. By simulating different signals that your circuit might face, it enables you to evaluate the reaction and behaviour of your design under numerous scenarios. The design and analysis of filters, amplifiers, and other signal-processing components benefit greatly from the usage of function generators.
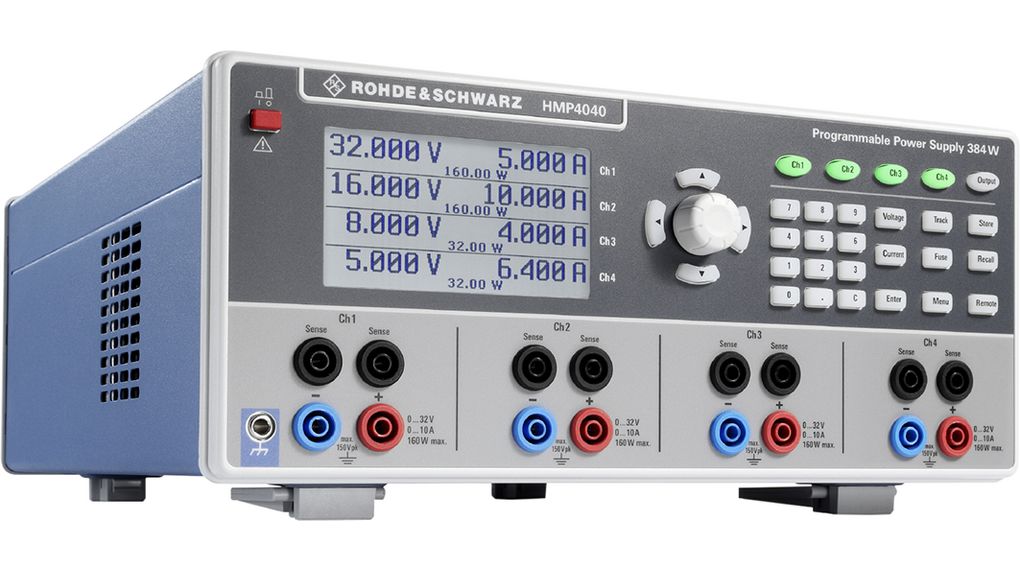
Power Supply
If you want to power your electronic projects safely, you’ll need a variable DC power source. It offers a dependable and controllable power source by letting you modify the voltage and current settings to suit the requirements of your circuit. If you need to power different components of your circuit at the same time, look for a power supply with numerous outputs. In the event of a short circuit or overload, features like over-current protection are crucial since they guard against harm to your circuit and power supply.
Prototyping Tools
Before completing your designs, prototyping is an essential step in the development process that lets you try, test, and improve your ideas. Here’s a deeper look at the crucial instruments you will require:
- Breadboards – use breadboards to assemble circuits without soldering. Have a variety of sizes on hand.
- Jumper wires – a variety of male-to-male, male-to-female, and female-to-female jumper wires are necessary for connections.
- PCB kit – for permanent projects, consider a PCB etching kit or use a PCB manufacturer service. Software like DesignSpark PCB can help you design your boards.
- Component kits – stock up on passive components, incl. resistors, capacitors, diodes, transistors, and integrated circuits. Starter kits are great for beginners.
3. Stock Up On Components
Stocking up on a variety of electronic components is vital to maintaining a well-equipped lab. Commence with simple parts, such as resistors, which should have 1/4W or 1/2W ratings and range from 1Ω to 1MΩ. Additionally, you will require a variety of capacitor types and values, such as electrolytic, ceramic, and film types. Diodes are essential. Examples of these include the 1N4148 for signal applications and the 1N4007 for rectification. Include MOSFETs such as the IRF540N as well as NPN (e.g., 2N2222) and PNP (e.g., 2N3906) transistors.
For more complex projects, think about including specialised parts such as microcontrollers (MCU), which are necessary for a variety of applications and can be found in Arduino, ESP32, or Raspberry Pi. We’ve drafted a guide to Arduino PCB to help you get started with your first board.
Depending on the project you are working on, you might also find motors and servos helpful for robotics and automation, as well as sensors for light, motion, and temperature. You can find these and more components in the Distrelec webshop from suppliers like SparkFun, Arduino, and Adafruit.
4. Find The Right Software and Simulation Tools
For efficient design, testing, and development in electronics, the right software and simulation tools must be chosen. These are the main categories of software that you will require:
Circuit Simulation Software
You can model and analyse your electronic circuits using circuit simulation tools before you actually build them. You may simulate circuit behaviour under different settings with tools like LTspice and Multisim, which can help you find possible problems and improve your design. These simulations can forecast the response times, voltage levels, and signal interactions of your circuit, which can save time and resources by identifying issues early in the design phase.
Microcontroller Programming
Microcontroller programming is necessary to create interactive projects and embedded systems. Writers can easily write and upload code to microcontroller boards using software environments like MicroPython, PlatformIO, and the Arduino IDE. These platforms facilitate the implementation of bespoke features and interfaces in your projects by supporting a variety of microcontrollers and providing libraries and tools that make writing, debugging, and deployment simpler.
PCB Design Tools
In order to design PCBs with precision and functionality, specific software is needed. You may develop schematics and convert them into PCB layouts with the aid of programs like DesignSpark PCB Software and Eagle. By providing capabilities like component libraries, automatic routing, and design rule checks, these tools make sure your board satisfies electrical standards and can be manufactured. By precisely transitioning from prototype to production with PCB design software, you can make dependable, high-quality circuit boards.
5. Expand Your Electronics Lab
Advanced Tools
Once you’ve got your basic electronics lab set up, and you progress in your electronics projects and gain more experience, expanding your lab with advanced equipment can significantly enhance your capabilities and allow you to tackle more complex and diverse tasks. Here are some key additions to consider:
Digital Storage Oscilloscope (DSO)
A DSO can record and show several waveforms, which makes it different from typical oscilloscopes and makes it possible to review and analyse signal properties over time. This feature is very helpful for troubleshooting complex waveform interactions, digital communications, and high-frequency circuit problems. Advanced features like trigger functions, automated measurements, and digital data analysis are frequently included in modern DSOs, and they can greatly facilitate your debugging and development process.
Logic Analyser
Ideal for debugging digital circuits by capturing and examining multiple digital signals, helping identify timing issues and communication errors. A logic analyser assists in detecting difficulties, including timing problems, signal integrity, and communication mistakes, by visualising digital data and analysing signal interactions. When dealing with FPGA designs, microcontrollers, or sophisticated digital systems, this tool is quite helpful since it makes it easier to understand logic states and signal sequences.
3D Printer
Useful for creating custom enclosures, brackets, and mechanical parts, allowing you to prototype and design tailored components for your projects. Additive manufacturing is the whole new world for electronics, and you can design things like 3d-printed gadgets, or even cars, houses and organs!
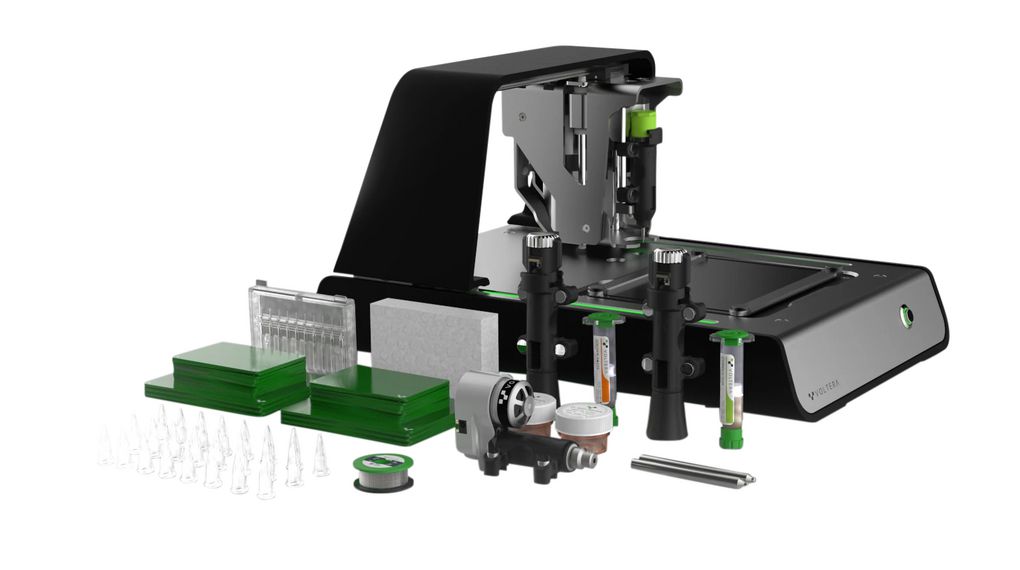
Learn the basics of 3D printers in our article about industrial applications of 3D printing or shop the PCB printer below from Voltera which allows for precisely distributing solder paste, drill through-holes and vias, print conductive ink traces, and reflow components using an integrated heater. The Voltera V-One is an all-in-one board fabrication solution that keeps your development cycle short and all of your IP in-house. Find out more in our article about additive manufacturing of electronics with Voltera.
Storage Solutions
When expanding your lab, you might need additional storage. At Distrelec, you can find plenty of tool storage and organisers, from assortment boxes to tool bags and walls and workshop cabinets. Check them out to keep your electronics neat and tidy and to ensure easy access to your tools and components.
6. Ensure Safety
The last but most important aspect is safety. Building a home lab requires bearing in mind the safety aspect as maintaining it in your electronics lab is essential for the longevity of your equipment as well as your own health.
- Electrical safety – always work with power sources turned off and properly grounded. Use insulated tools and avoid working on live circuits. Regularly check equipment and cables for damage, and use fuses and circuit protection devices to prevent overcurrent.
- Soldering safety – work in a well-ventilated location or use a fume extractor as soldering involves high temperatures and fumes. Use a soldering iron stand to prevent burns and put on safety glasses to safeguard your eyes. Keep combustible objects away from where you’re working.
- General safety – to avoid incidents, keep your desk neat and orderly. Take personal protection equipment (PPE) [find out more about the importance of PPE in the electronics industry in this article], familiarise yourself with the safety features of the equipment, and store chemicals and sharp objects appropriately. Know what to do in an emergency and keep a first aid kit on hand.
Entering the World of Electronics Engineering
Establishing a home electronics lab may be a rewarding project that offers countless chances for creativity and learning. You may build a productive atmosphere that supports your path as an engineer or hobbyist by carefully choosing your area, stocking it with necessary equipment and components, and putting safety first. This article gives you the groundwork to create a flexible and effective home electronics lab, regardless of your level of experience. Have fun constructing!


