


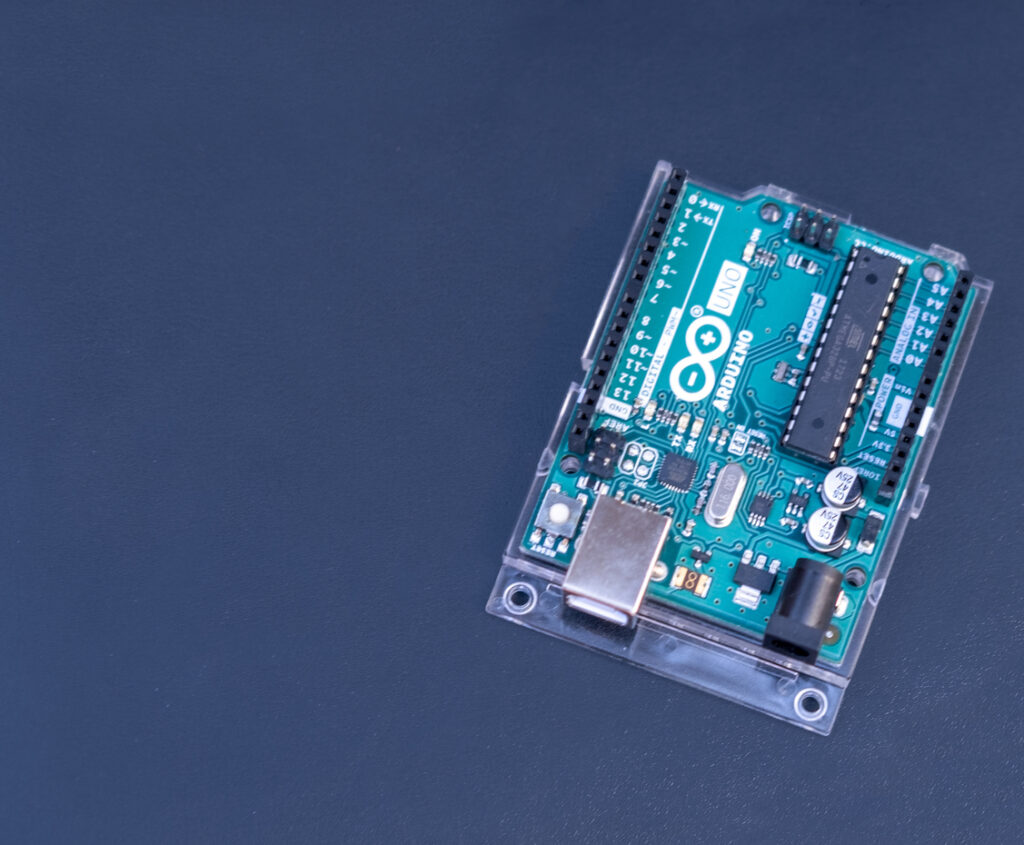
Arduino is a popular open-source electronics platform that has revolutionised the world of DIY projects. With its powerful microcontrollers and versatile programming environment, Arduino allows enthusiasts and professionals alike to bring their creative ideas to life. One of the key features that make Arduino even more powerful is the availability of shields. Arduino shields are expansion boards that can be plugged onto the Arduino board, adding new functionalities and capabilities to your projects. In this article, we will explore the world of Arduino shields and how they can enhance your projects. If you want to find out more about Arduino PCBs, you can find a detailed guide here.
Introduction to Arduino Shields
Arduino shields are expansion boards that can be easily plugged onto an Arduino board, providing additional functionalities and capabilities. These shields are designed to fit perfectly onto the Arduino board, making it a seamless integration process. By using Arduino shields, you can quickly and effectively add features such as Wi-Fi connectivity, motor control, LCD displays, and much more to your projects.
Why Do We Need Shields?
Arduino shields offer several advantages that make them an essential component in any Arduino project:
- Expanded Functionality: Shields allow you to add new features and capabilities to your projects without the need for complex wiring or additional components. They provide an easy and convenient way to enhance the functionality of your Arduino board.
- Easy Integration: Arduino shields are specifically designed to fit onto Arduino boards, ensuring a perfect fit and easy integration. This eliminates the need for complex wiring or soldering, making it accessible for beginners and experienced users alike.
- Versatility: With a wide range of shields available, you can choose the ones that best suit your project requirements. Whether you need Wi-Fi connectivity, motor control, or sensor integration, there is a shield available to fulfil your needs.
- Time-saving: Using Arduino shields saves you time and effort in designing and building complex circuits. Instead of starting from scratch, you can simply plug in the shield and start working on your project immediately.
The Types of Arduino Shields
There are various types of Arduino shields available in the market, each catering to specific project requirements. Let’s explore some of the most popular Arduino shields and their functionalities.
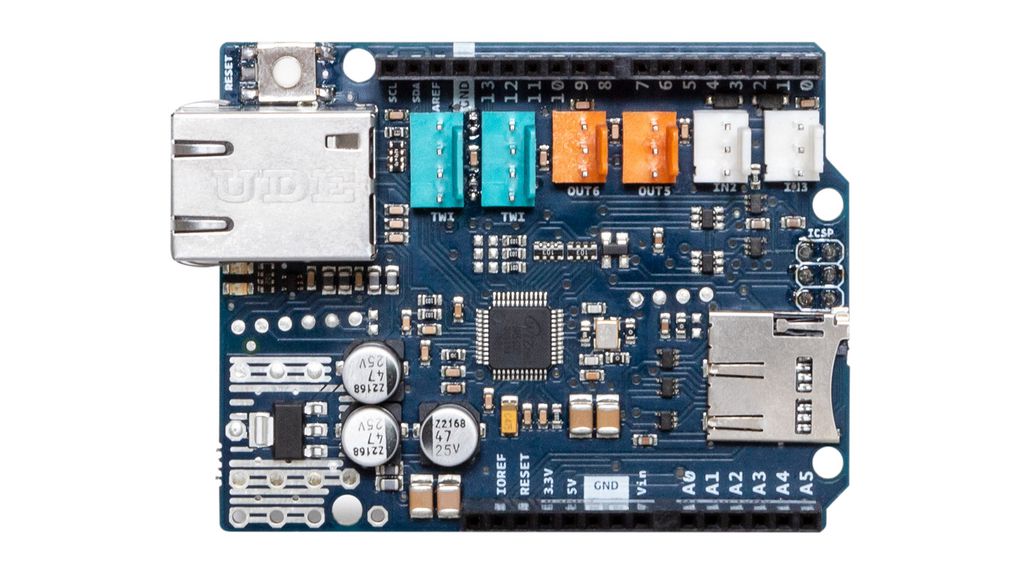
Ethernet Shield
The Ethernet shield allows you to connect your Arduino board to the internet. It provides the ability to communicate with web servers, send and receive data, and access online resources. With the Ethernet shield, you can create projects that require internet connectivity, such as remote monitoring systems, IoT devices, and web-controlled robots.
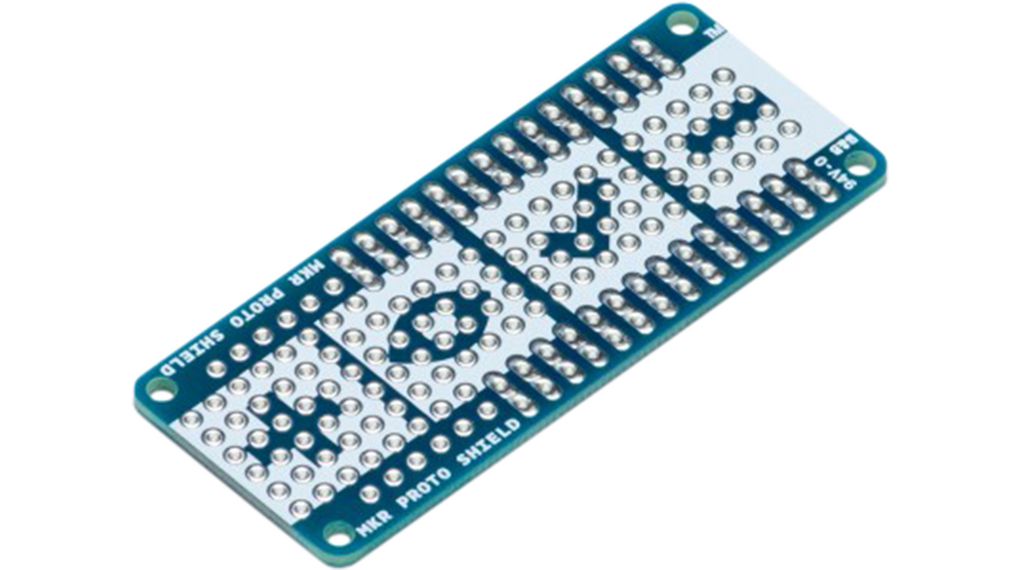
Proto Shield
The Proto shield is designed for creating custom circuits and prototyping. It provides a blank canvas for soldering electronic components directly onto the shield, allowing you to design and test your own circuits. The Proto shield is perfect for advanced users or those who want to create unique projects with specific circuit requirements.
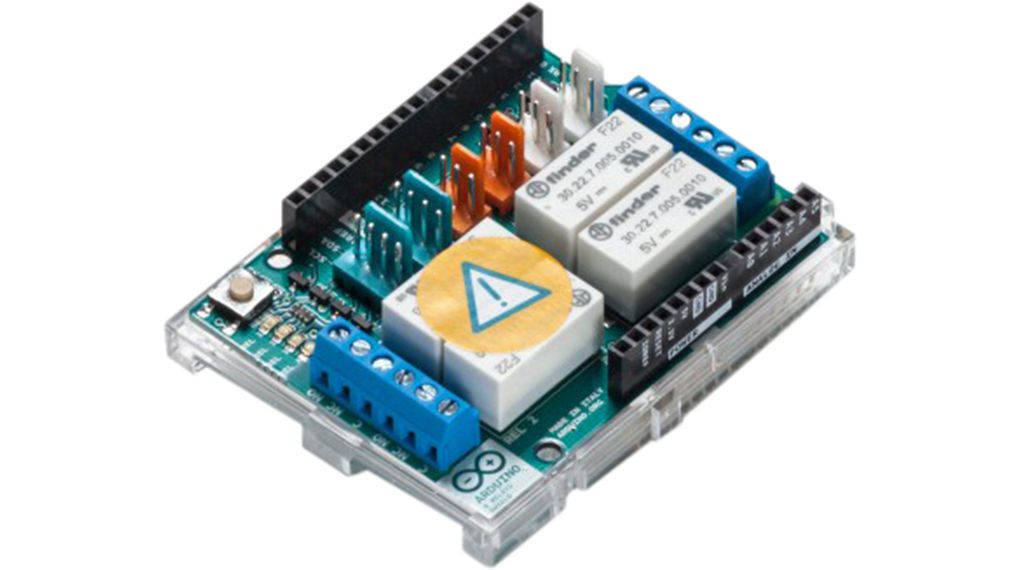
Relay Shield
The Relay shield is used to control devices that require high current and voltage, such as motors, lights, and appliances. It provides multiple relays that can be controlled by your Arduino board, allowing you to switch high-power loads with ease. The Relay shield is commonly used in home automation projects, robotics, and industrial control systems.
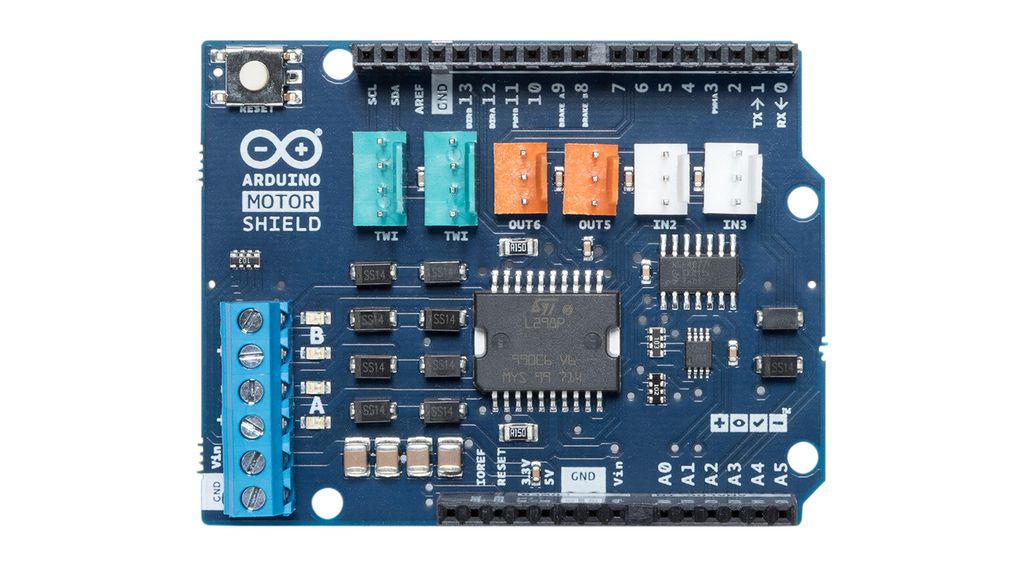
Motor Shield
The Motor shield is specifically designed for controlling motors with your Arduino board. It allows you to control the direction and speed of DC motors or drive stepper motors. The Motor shield is perfect for projects involving robotics, motorised vehicles, or any application that requires precise motor control.
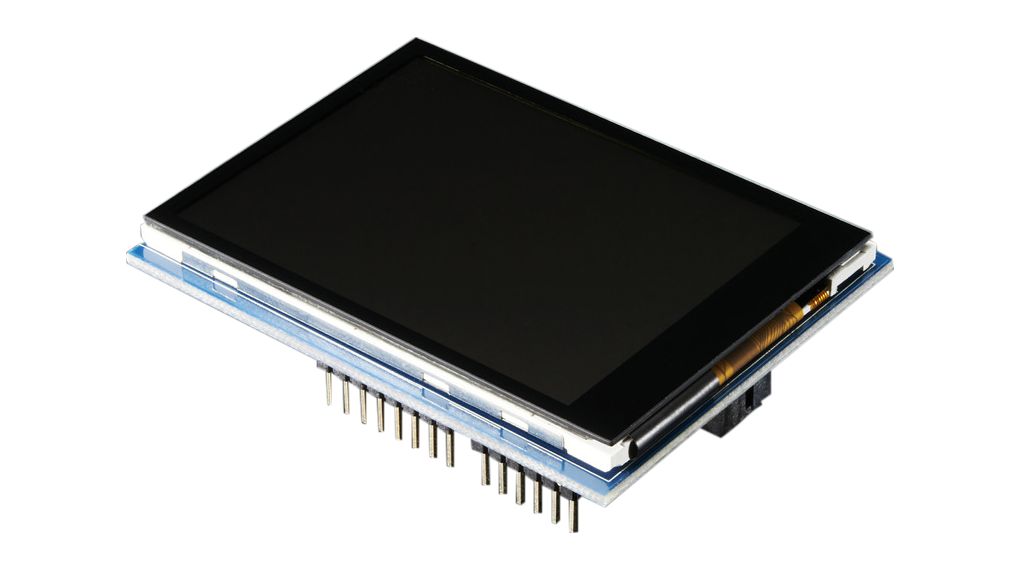
LCD Shield
The LCD shield comes with a built-in LCD display and keypad, making it easy to create projects with user interfaces. It provides a convenient way to display information, menus, and prompts to the user. The LCD shield is commonly used in projects such as digital thermometers, smart home controllers, and data loggers.
Bluetooth Shield
The Bluetooth shield enables wireless communication between your Arduino board and other Bluetooth-enabled devices such as smartphones, tablets, and computers. It allows you to create projects that can interact with mobile apps or exchange data wirelessly. The Bluetooth shield is commonly used in home automation, wearable technology, and remote control applications.
Xbee Shield
The Xbee shield enables wireless communication with your Arduino board. It uses Zigbee technology, allowing you to communicate wirelessly with other devices or create mesh networks. The Xbee shield is ideal for projects that require remote control, wireless sensor networks, or communication between multiple Arduino boards.
Capacitive Touchpad Shield
The capacitive touchpad shield offers touch-sensitive buttons and pads that can be integrated into your Arduino projects. It allows you to create interactive interfaces that respond to touch, making it ideal for projects that require user input or touch controls. The capacitive touchpad shield is commonly used in gaming consoles, interactive displays, and human-machine interfaces.
How to Use Arduino Shields
Using Arduino shields is a straightforward process. Here are the general steps to follow:
- Choose the appropriate shield for your project based on its functionalities and requirements.
- Ensure that your Arduino board is compatible with the shield you have chosen.
- Insert the shield onto the Arduino board, aligning the pins correctly.
- Make any necessary connections between the shield and external components, such as sensors or actuators.
- Write the code for your project, taking into account the functionalities provided by the shield.
- Upload the code to your Arduino board and power it up.
- Test and troubleshoot your project as needed.
It’s important to refer to the documentation and user guides provided with the shield for specific instructions and examples related to that particular shield.
Examples of Arduino Shield Projects

Arduino shields open up a world of possibilities for your projects. Here are a few examples to inspire you:
Home Automation System
Using an Arduino board with an Ethernet shield, you can create a home automation system that allows you to control lights, appliances, and security systems remotely. With the power of Arduino and the Ethernet shield, you can build a smart home that responds to your commands or can be controlled via a mobile app.
Weather Station
Combine an Arduino board with a sensor shield to create a weather station that measures temperature, humidity, and atmospheric pressure. The sensor shield simplifies the process of connecting and reading data from various sensors, making it easier to collect and display weather information.
Robotic Arm
With an Arduino board and a motor shield, you can build a robotic arm that can perform precise movements and tasks. The motor shield allows you to control multiple motors simultaneously, enabling complex robotic movements. This project is a great way to explore robotics and automation.
Gaming Console
Using an Arduino board with a Capacitive Touchpad shield, you can create your own handheld gaming console. The touch-sensitive buttons and pads provide a tactile and interactive gaming experience. Customise the console with your favourite games and enjoy hours of gaming fun.
These are just a few examples of what you can achieve with Arduino shields. The possibilities are endless, limited only by your imagination and creativity.
Choosing the Right Arduino Shield for Your Project
When selecting an Arduino shield for your project, consider the following factors:
- Functionality: Determine the specific functionalities you require for your project, such as Wi-Fi connectivity, motor control, or sensor integration. Choose a shield that provides the necessary features.
- Compatibility: Ensure that the shield you choose is compatible with your Arduino board. Check the pin configurations and specifications to ensure proper connectivity.
- Documentation and Support: Look for shields that have comprehensive documentation and support resources available. This will make it easier for you to learn how to use the shield and troubleshoot any issues that may arise.
- Reviews and Recommendations: Read reviews and seek recommendations from other Arduino enthusiasts or experts. Their experiences and insights can help you make an informed decision.
Tips for Working with Arduino Shields
Here are some tips and tricks to enhance your experience when working with Arduino shields:
- Read the Documentation: Always read the documentation and user guides provided with the shield. This will help you understand its features, pin configurations, and usage instructions.
- Check for Updates: Arduino shields often have firmware or library updates. Check the manufacturer’s website or community forums for any updates that may improve performance or add new features.
- Use Proper Power Supply: Some shields require an external power supply to function properly. Ensure that you provide the correct power supply as specified in the shield’s documentation.
- Organise Your Connections: Keep your connections neat and organised. Use jumper wires or connectors to establish secure and reliable connections between the shield and external components.
- Test and Debug Incrementally: When working with complex projects, test and debug your code and connections incrementally. This will help you identify and fix any issues early on, saving you time and frustration.
- Join the Arduino Community: Join online forums, social media groups, and local Arduino communities. These platforms provide a wealth of knowledge, support, and inspiration for your projects.
Troubleshooting Arduino Shields
Despite their ease of use, Arduino shields may encounter issues that require troubleshooting. Here are some common problems and their possible solutions:
- Connection Issues: Ensure that the shield is securely plugged onto the Arduino board. Check for any loose or misaligned pins.
- Compatibility Issues: Double-check the compatibility of the shield with your Arduino board. Ensure that the shield is designed to work with your specific board model.
- Power Supply Problems: If the shield requires an external power supply, verify that it is providing the correct voltage and current. Make sure to connect the power supply properly.
- Software and Library Compatibility: Ensure that you are using the correct libraries and software versions for your shield. Check for any updates or compatibility issues between the shield and the Arduino IDE.
- Faulty Shield: If all troubleshooting steps fail, it is possible that the shield itself may be faulty. Contact the manufacturer or seek assistance from the Arduino community to resolve the issue.
Conclusion
Arduino shields are an excellent way to enhance your Arduino projects by adding new functionalities and capabilities. With a wide range of shields available, you can easily customise and expand your projects to suit your specific requirements. Whether you need internet connectivity, wireless communication, motor control, or user interfaces, Arduino shields provide a convenient and efficient solution. By leveraging the power of Arduino shields, you can take your projects to the next level and unleash your creativity. Head to the Distrelec webshop to explore a variety of Arduino shields.
Frequently Asked Questions
Yes, you can stack multiple shields on top of each other to combine their functionalities. However, it is essential to ensure that the shields are compatible and do not interfere with each other’s operation.
Yes, you can design and create your own custom Arduino shield to fulfil your specific project requirements. Arduino provides guidelines and resources for designing custom shields.
Arduino shields are designed to be compatible with specific Arduino board models. It is crucial to check the compatibility of the shield with your Arduino board before making a purchase.
Some shields may be compatible with other microcontroller platforms, but their functionality and integration may vary. It is best to check the shield’s documentation and compatibility with the specific platform you intend to use.
You can buy Arduino shields from the Distrelec webshop.
Yes, Arduino shields are designed to be customisable. You can modify existing shields or create your own extensions to suit your project requirements.
No, Arduino shields can be used in a wide range of project types, including home automation, robotics, IoT, sensor networks, and more. The versatility of shields allows for a diverse range of applications.
While Arduino shields are primarily designed for use with the Arduino IDE, it is possible to use them with other programming languages or platforms with the appropriate libraries and integration methods.
Arduino shields provide a convenient way to expand the capabilities of your projects, but there are some limitations to consider. Shields can add physical size and weight to your project, may require additional power sources, and may have limitations on the number of shields that can be stacked due to resource constraints.


